Adventures with the Volla Phone Quintus - part 1
Initial efforts #
Following the standard procedure, I first started by unlocking the phone bootloader, which was easy. I flashed a verity disabled vbmeta and I was ready to start experimenting with custom boot images.
LK expects a gzipped kernel image and a valid dtb that it can append a dtbo to. Unfortunately, the device has two very annoying quirks:
- LK has its own device tree and needs to apply the dtbo. That means you can’t just erase the dtbo partition.
- The dtbo has 300 lines of required nodes for LK to boot, which means that making it apply to a mainline device tree will be ugly.
Therefore, the approach I’m taking is to use a secondary bootloader (loaded as a kernel image by LK), which later on can boot mainline linux without the ugliness. This is the command I used to make a boot image:
python3 mkbootimg/mkbootimg.py \
--kernel u-boot.gz \
--ramdisk fitImage \
--dtb disassembly/boot/out/dtb \
--header_version 2 \
--os_version 14.0.0 \
--os_patch_level 2024-10 \
--cmdline "bootopt=64S3,32N2,64N2" \
--base 0x0 \
--kernel_offset 0x40080000 \
--ramdisk_offset 0x51100000 \
--tags_offset 0x47c80000 \
--dtb_offset 0x47c80000 \
--pagesize 2048 \
--output boot.img
Wiring up uart #
I began testing if uniLoader boots by setting some bits in the wdt to see if it would reboot. Luckily it did, but the framebuffer would not update, so I can’t really debug what is going on without uart access.
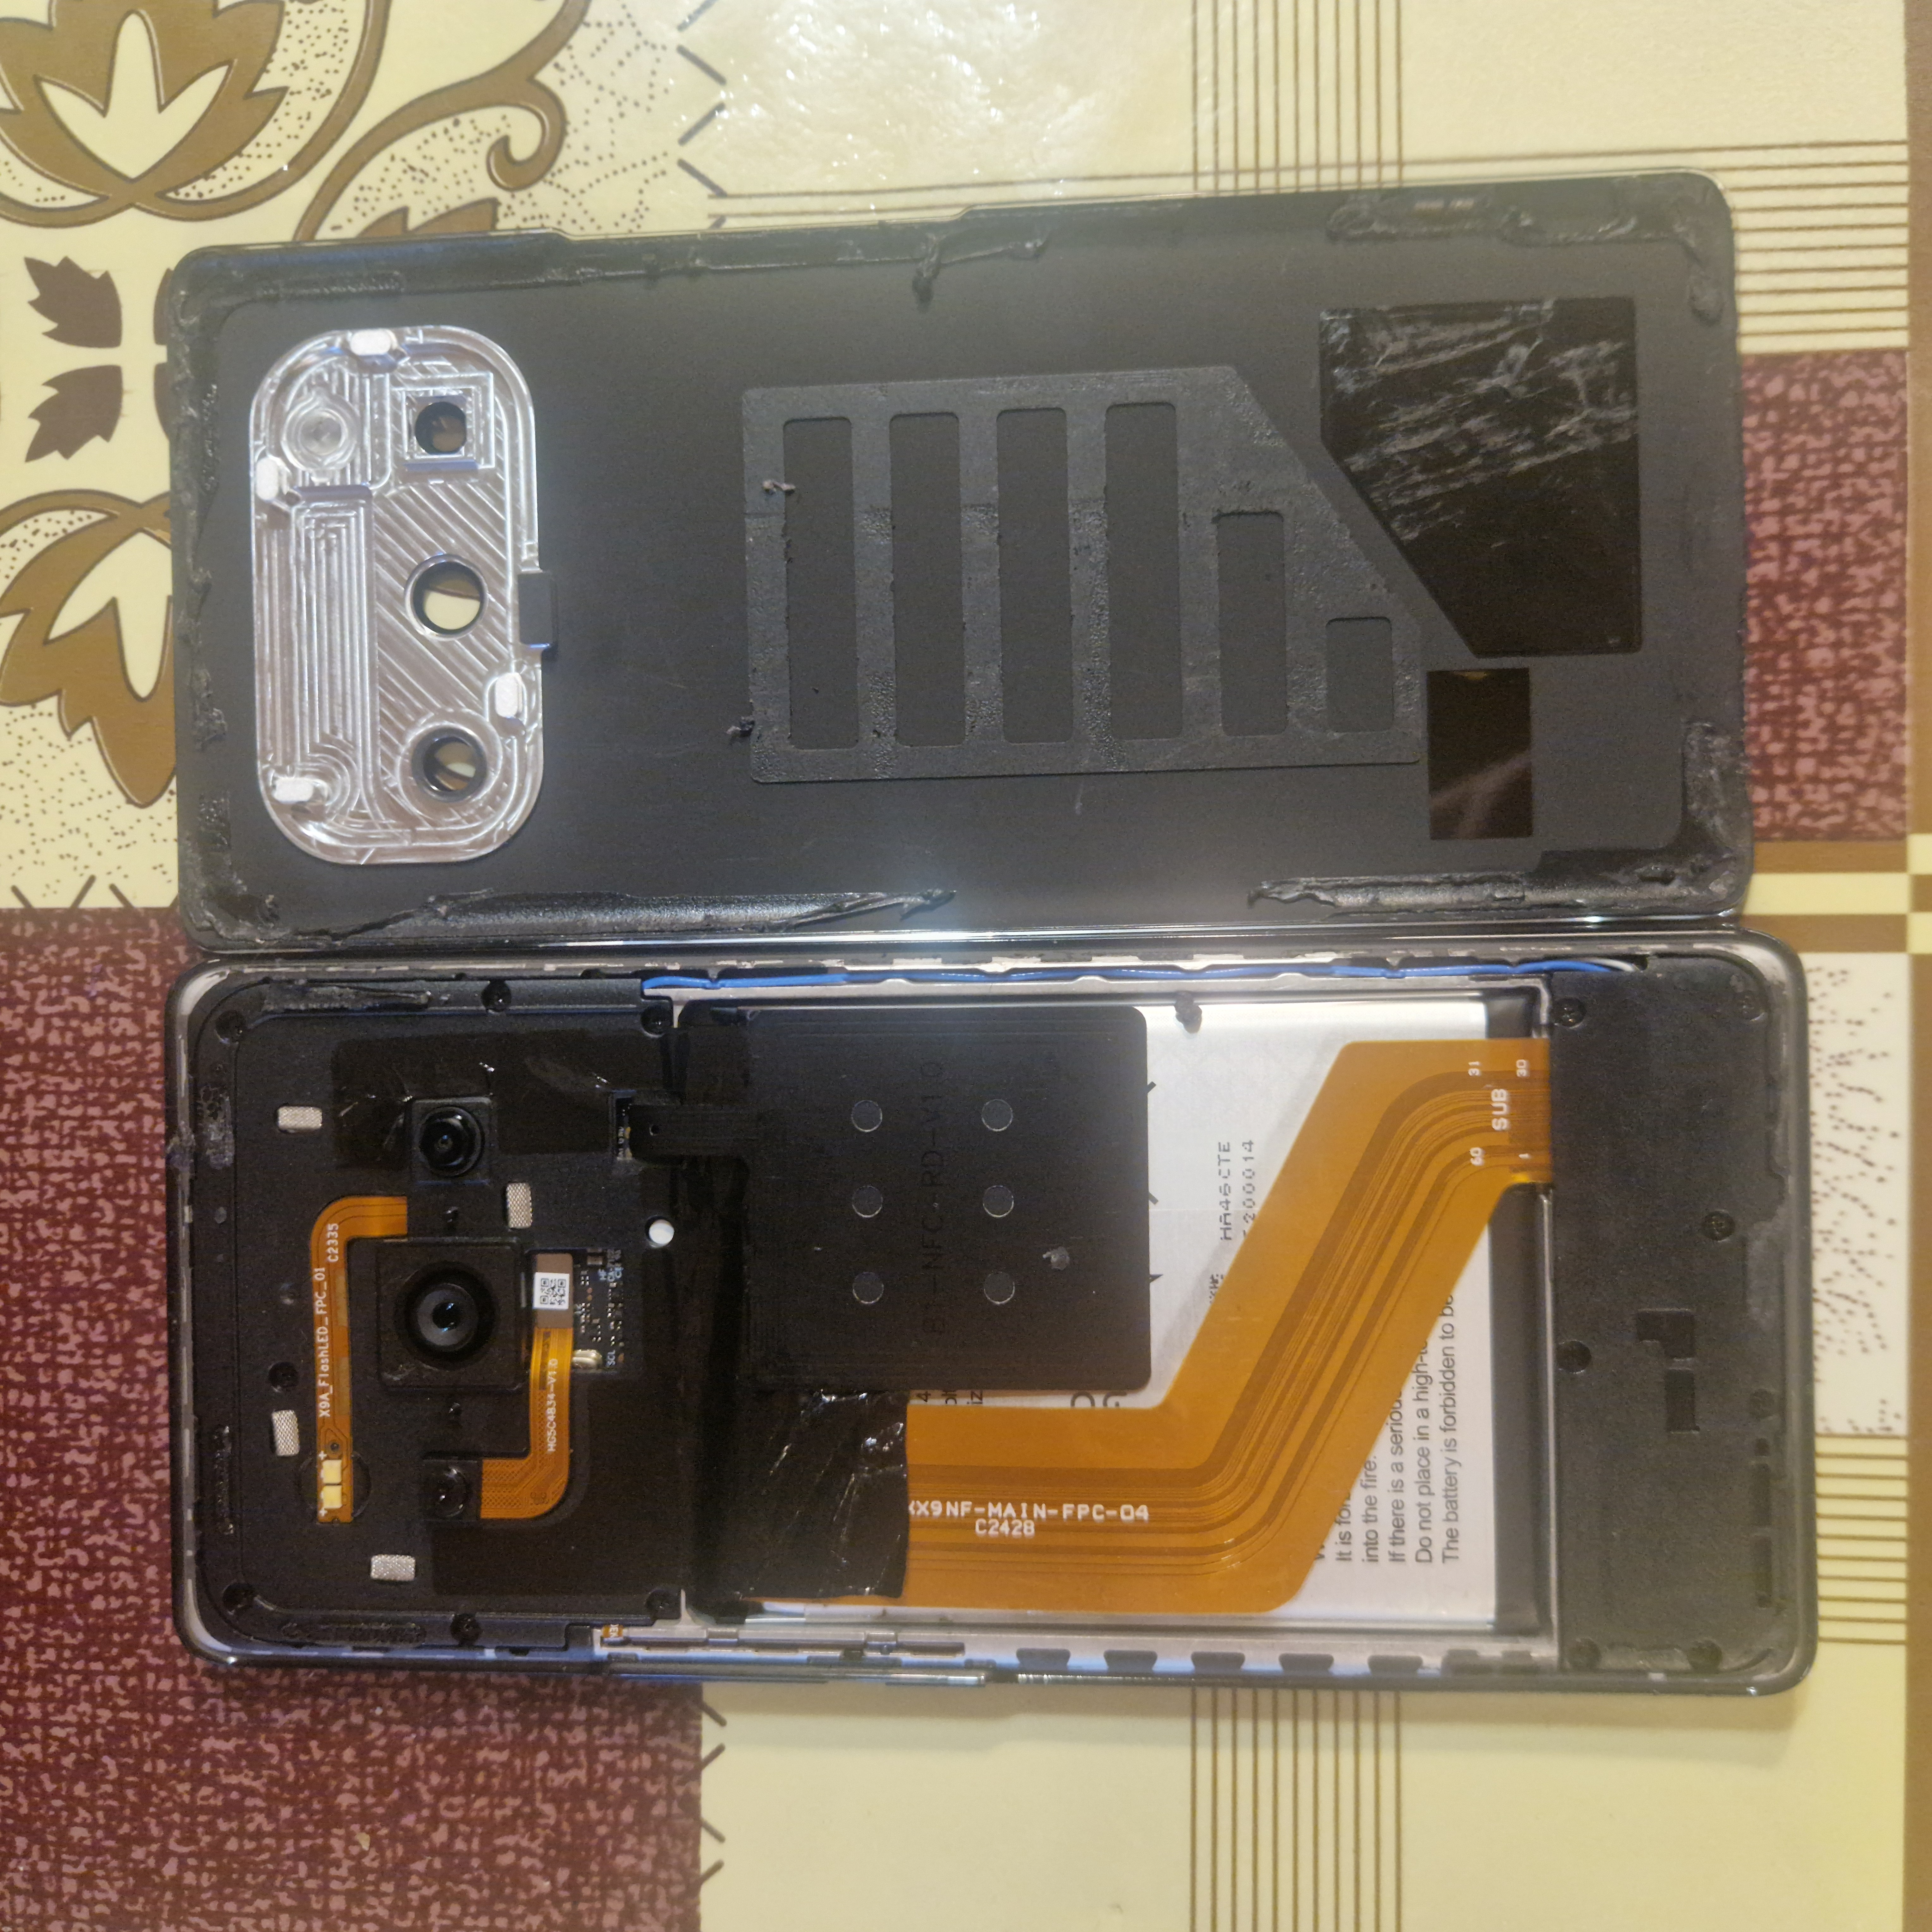
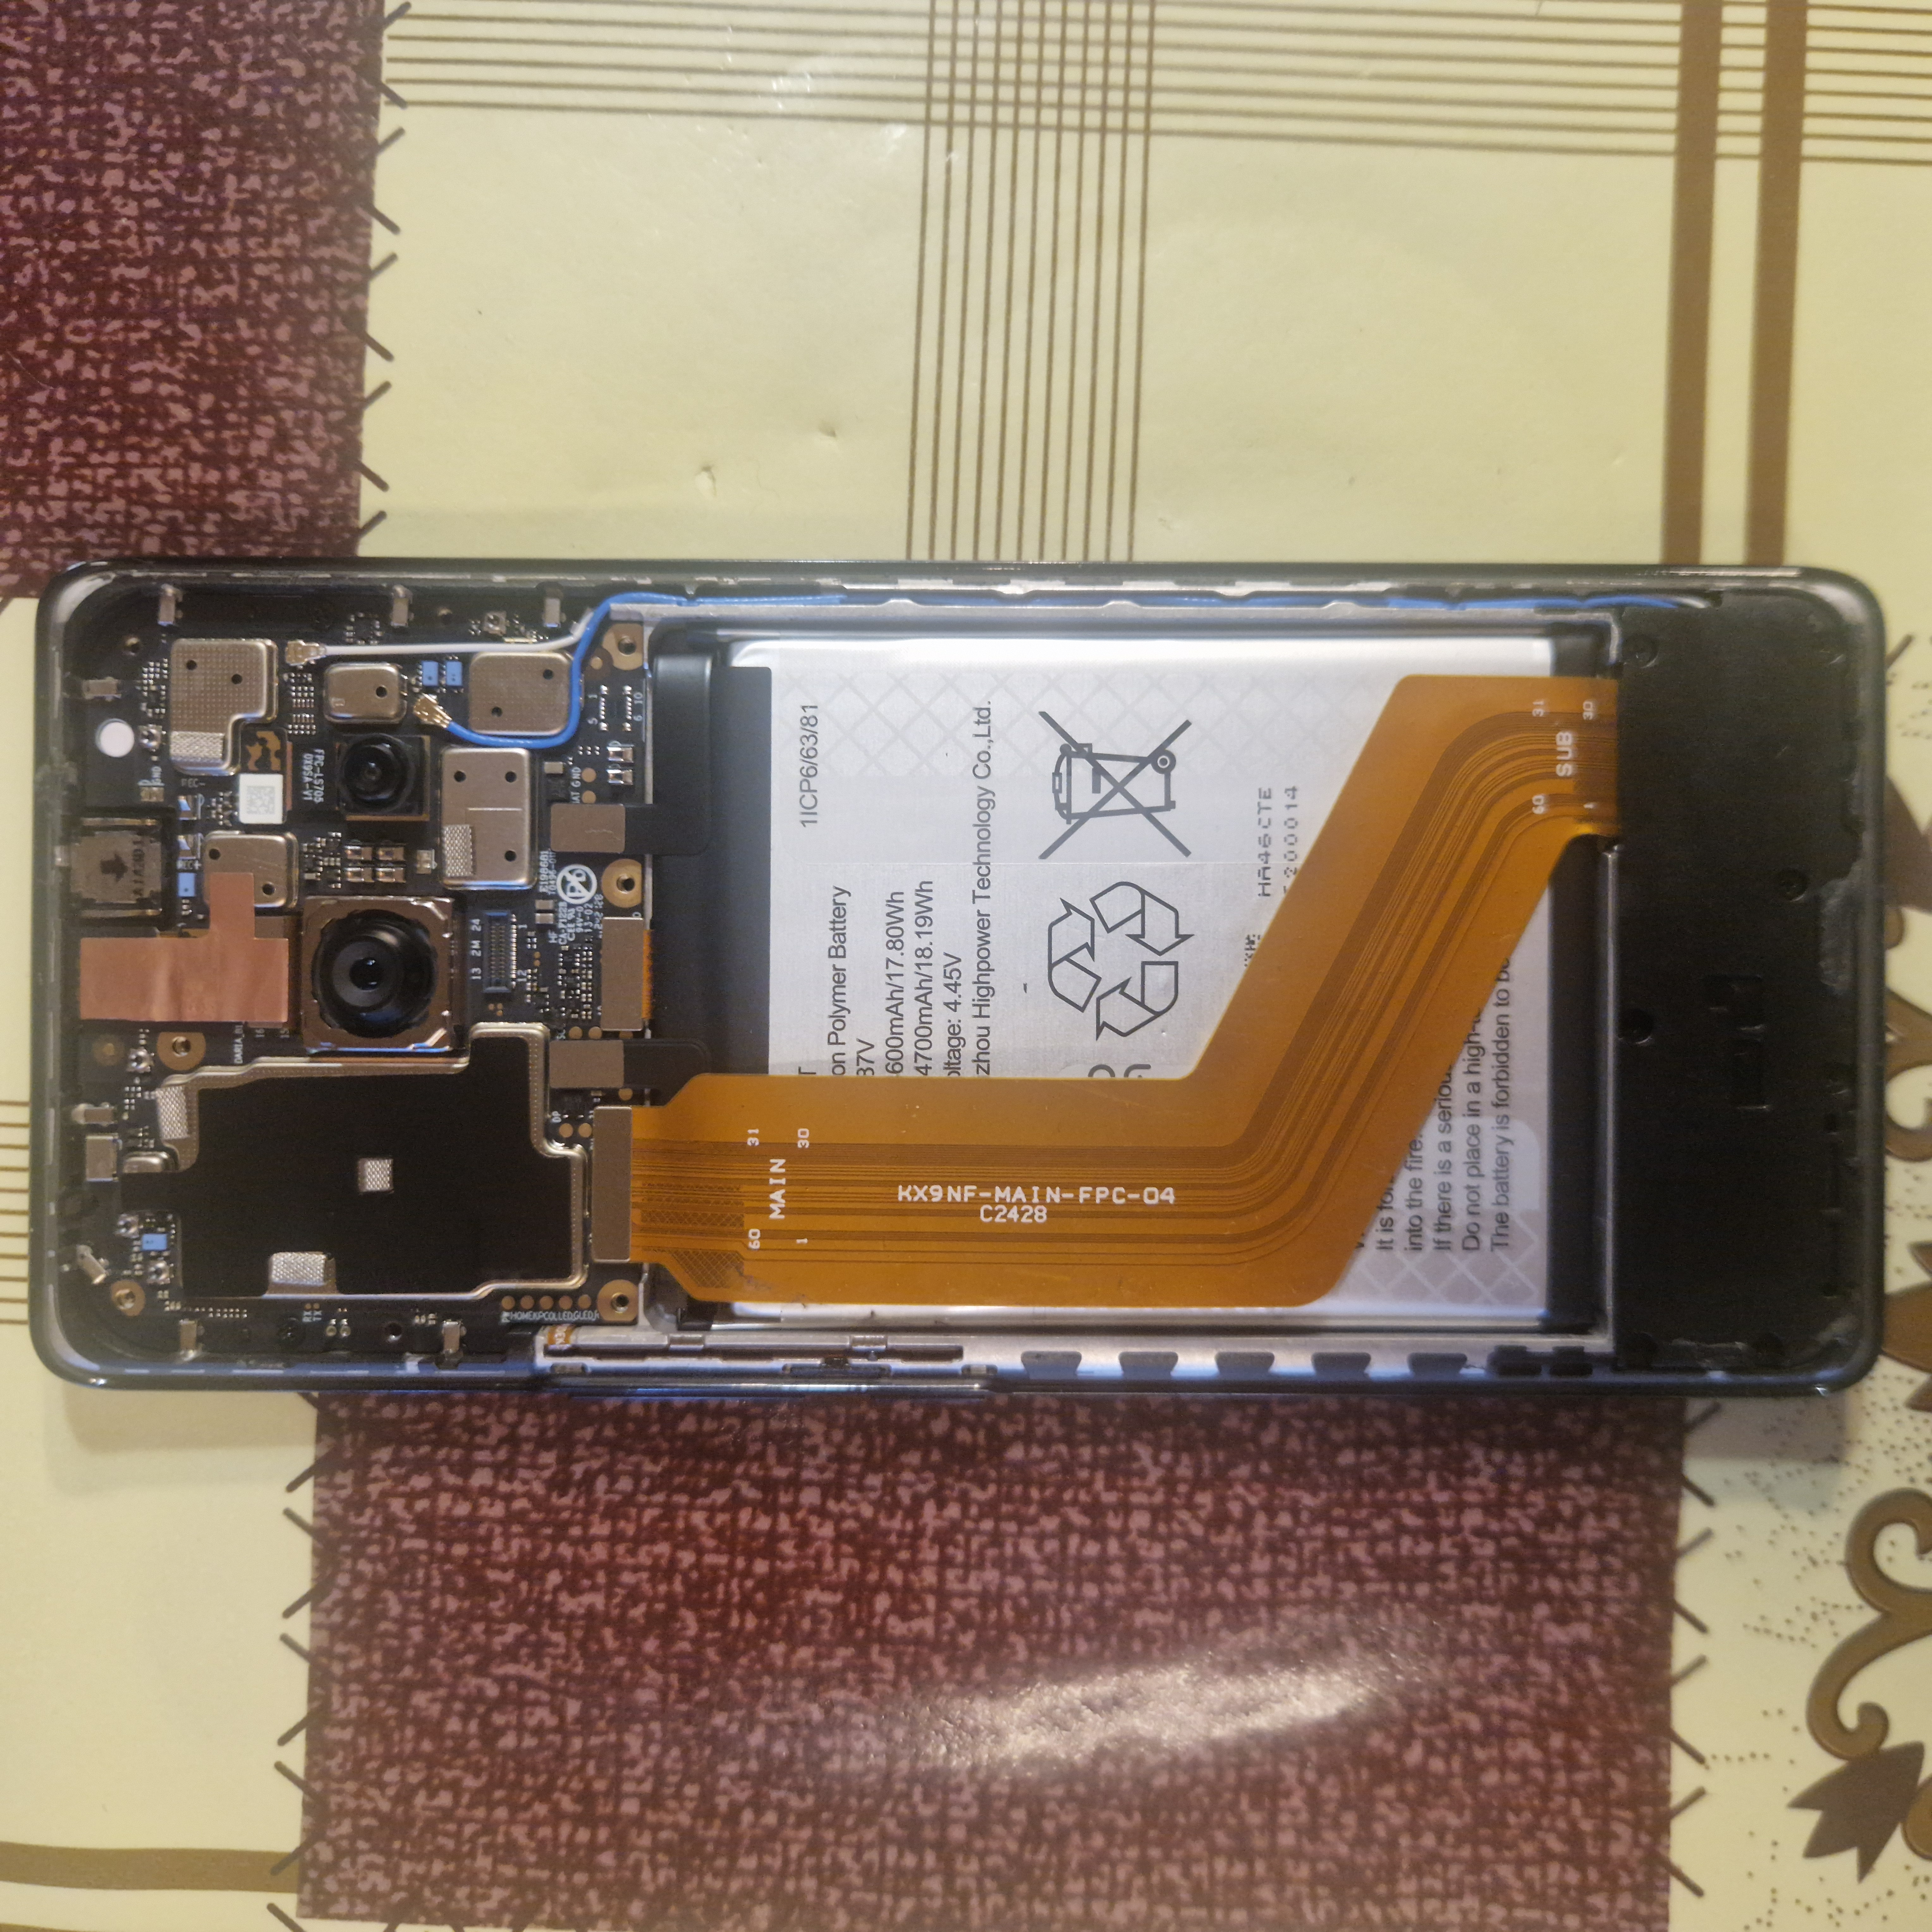
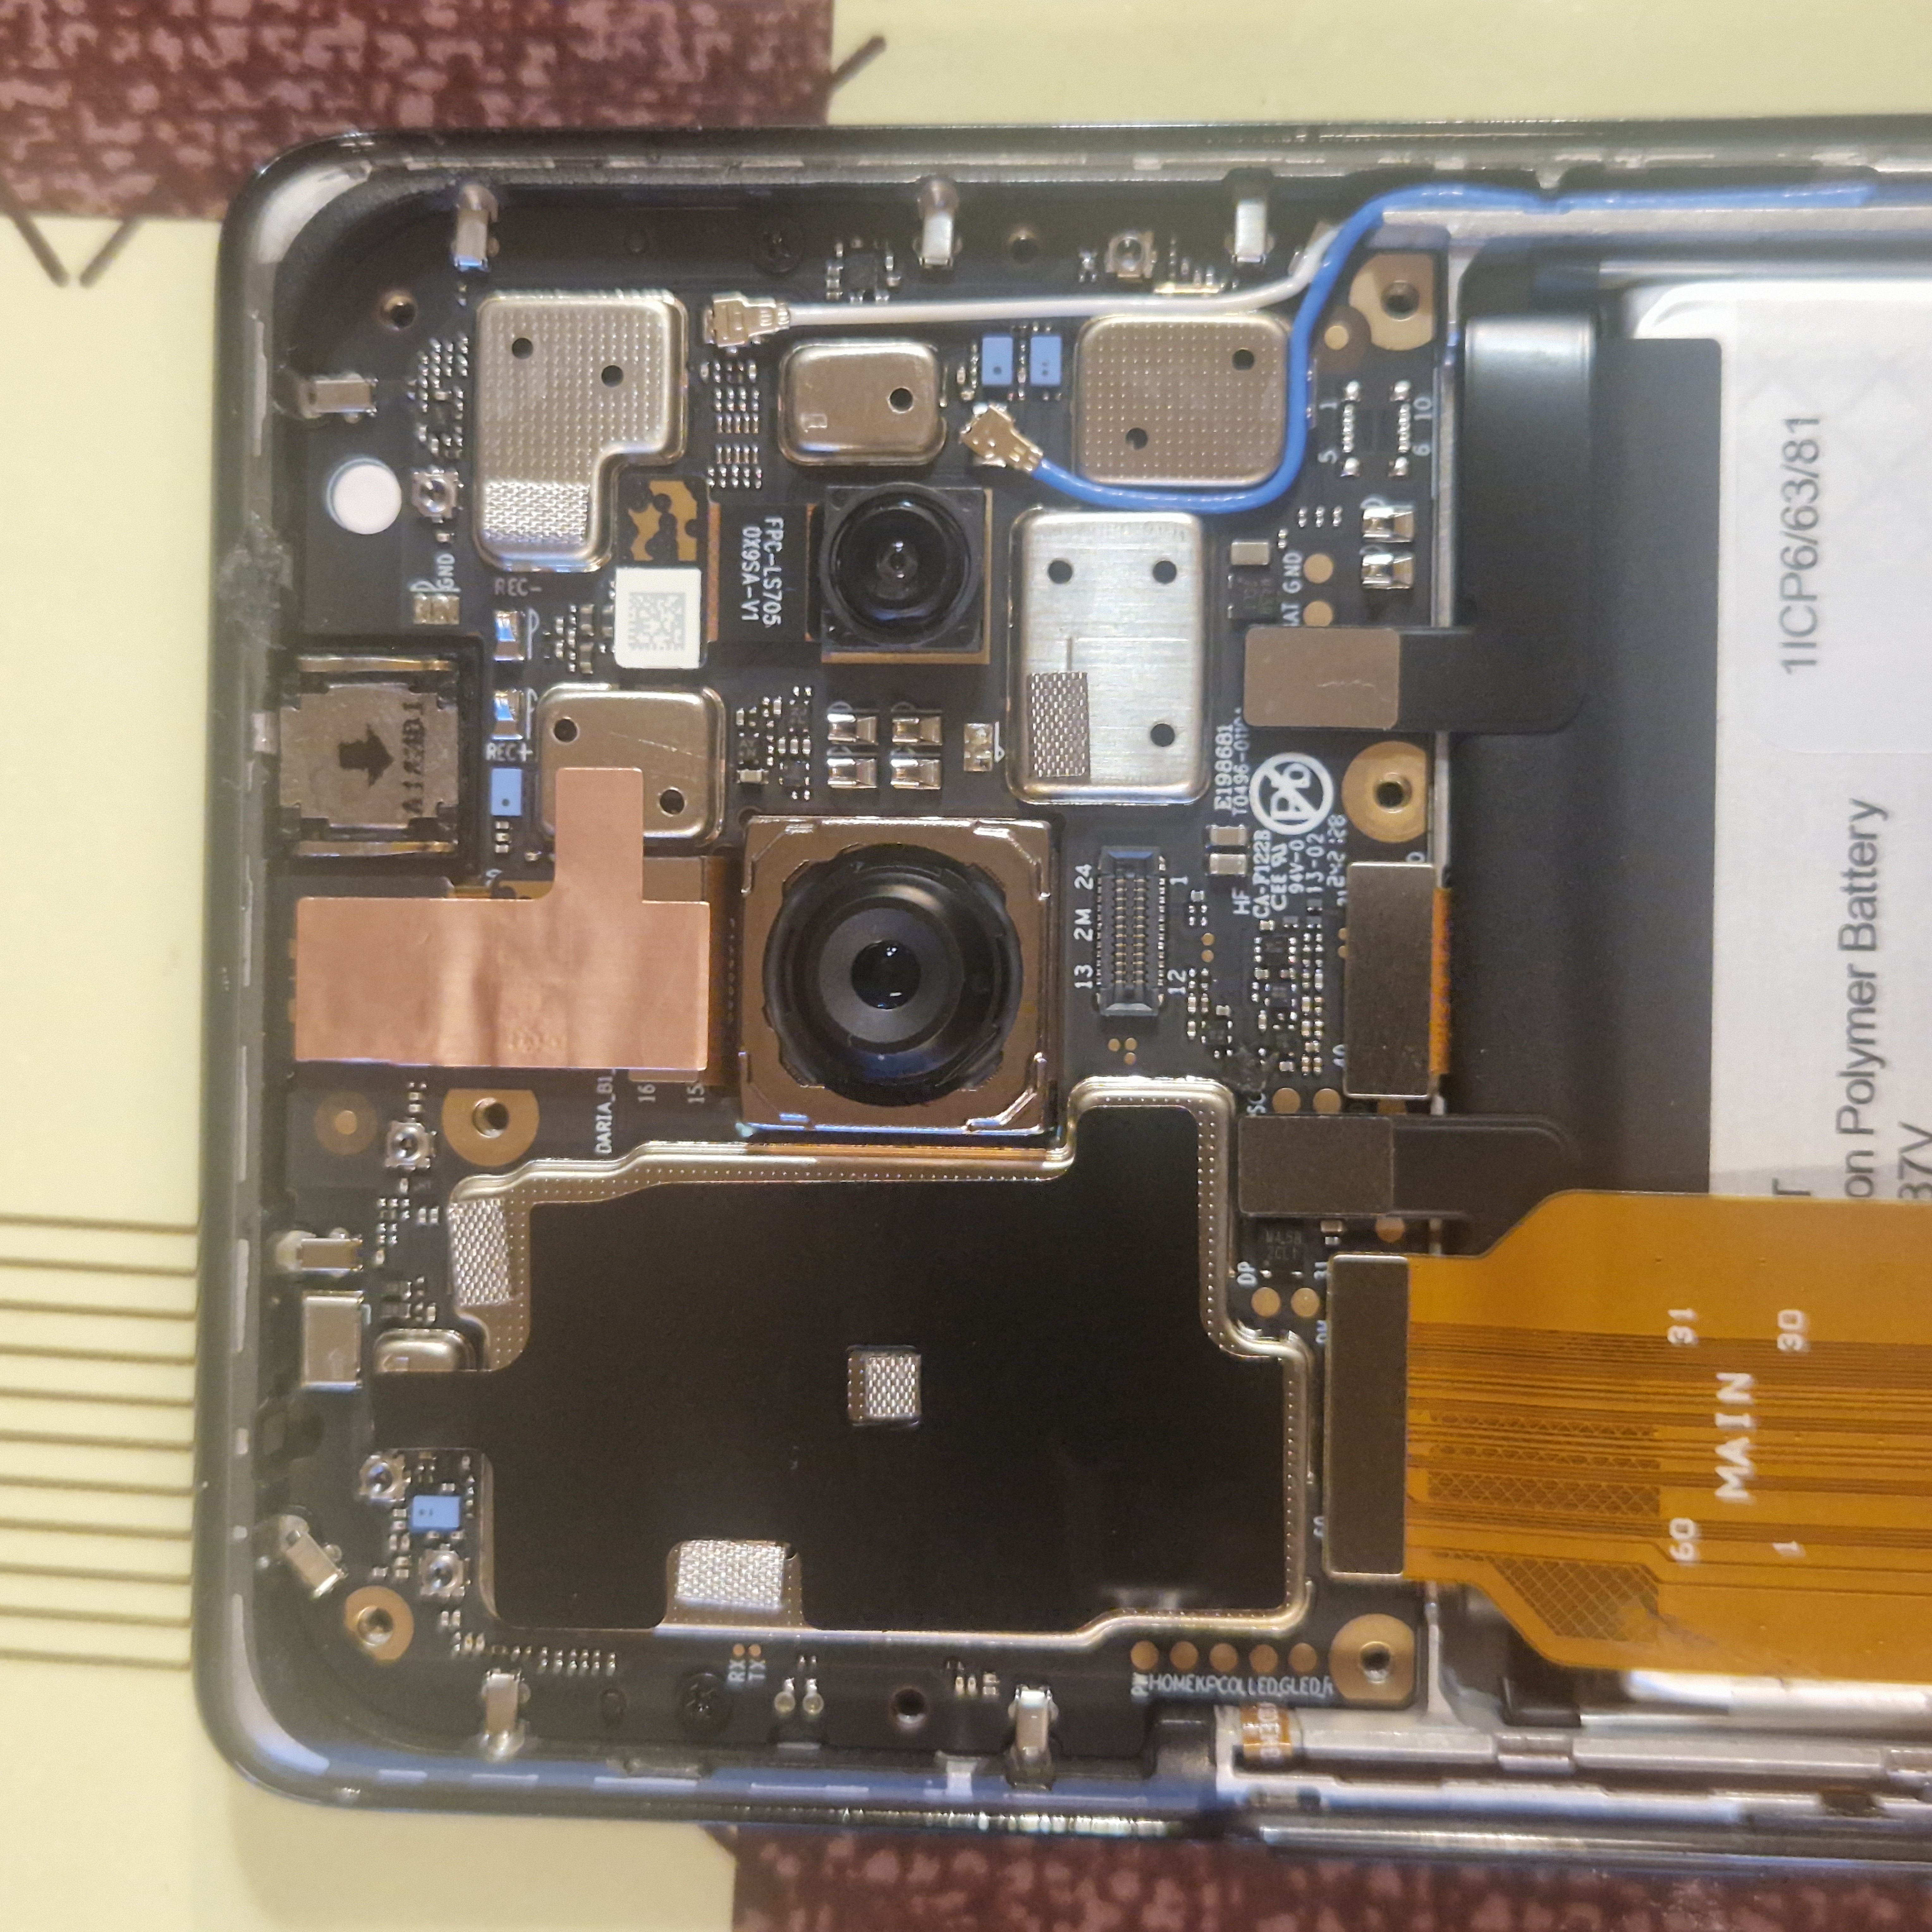
To obtain such, the phone needs to be disassembled.
The RX and TX pins are exposed on the left side of the motherboard. The pins are pretty small, but for debugging wiring up TX is enough.
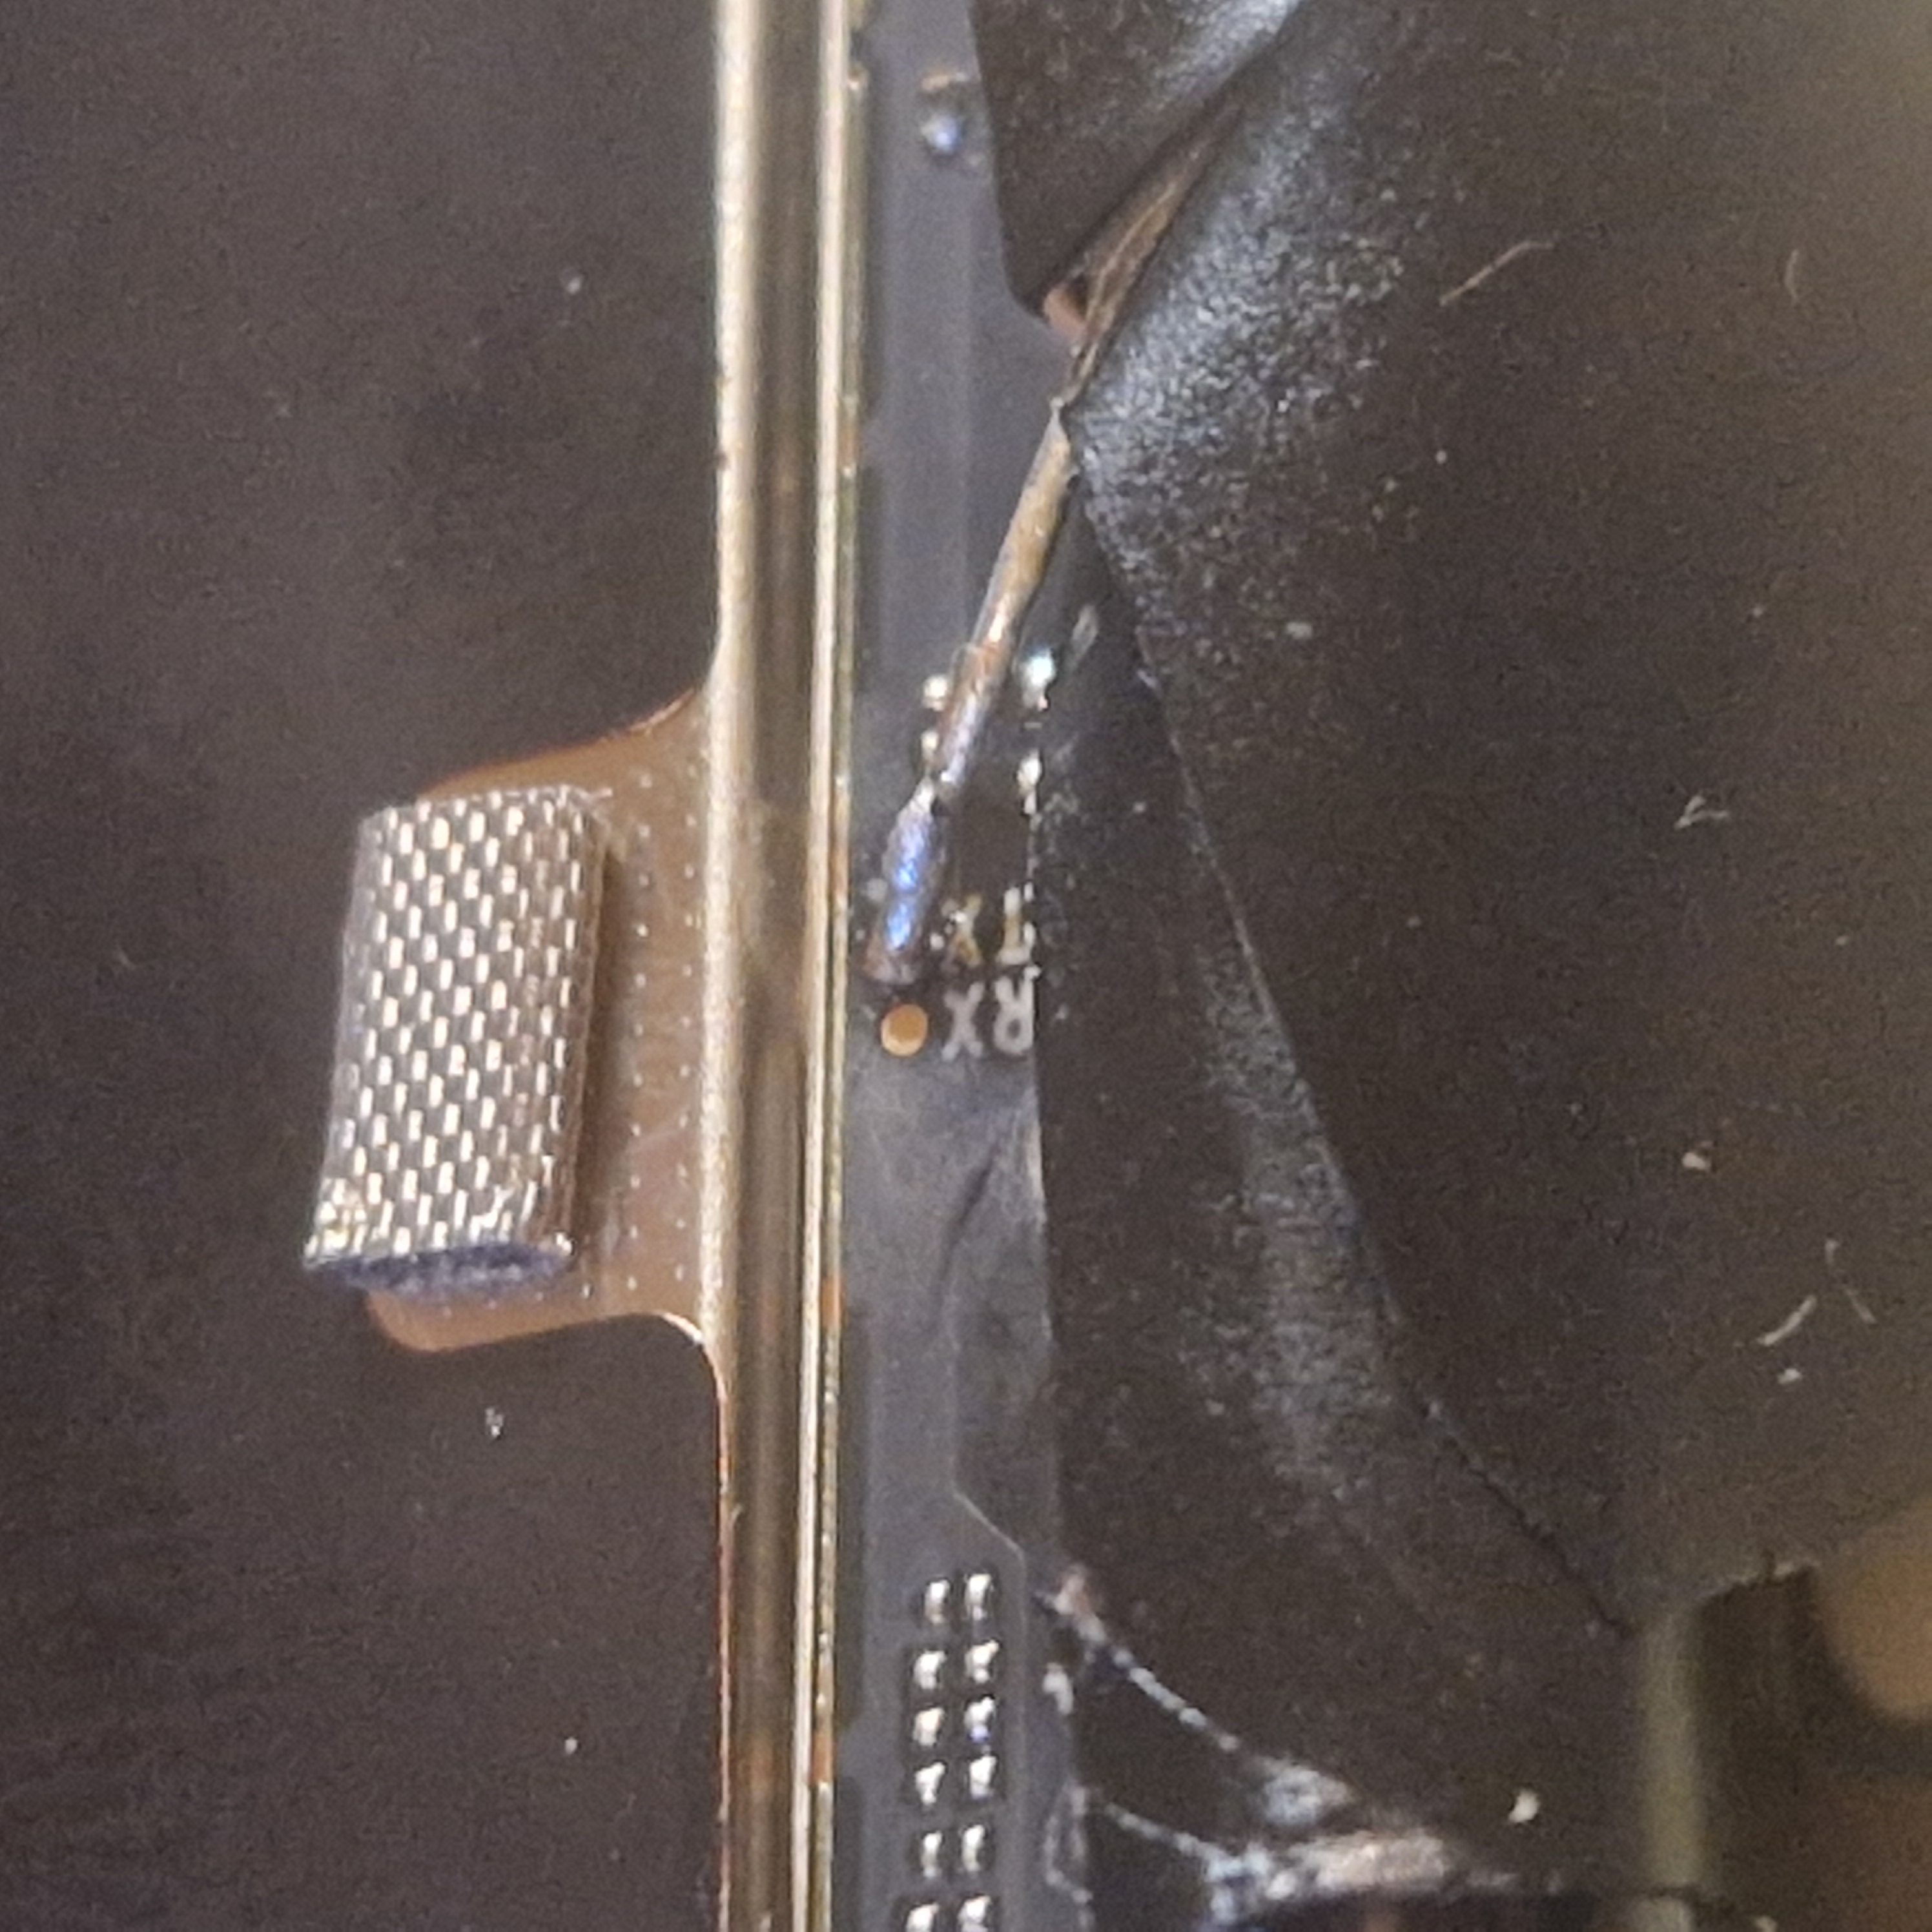
So, after connecting TX from the phone to the RX of my adapter and wiring up GND, I can fire up picocom to get serial logs with this command:
sudo picocom -b 921600 /dev/ttyUSB0

Bringing up u-boot #
In order to get a more verbose second stage bootloader, I started working on u-boot. A friend of mine had gotten it to work on his Dimensity 7300 device, which seemed similar enough, so I forked his repo and changed a few MMIO addresses, according to what Quintus has.

It was relatively simple. The hardest part was figuring out a rather hilarious memory issue, and that took 5 minutes.

What about Mainline Linux? #
Since I don’t have wired up RX, I needed a way to get Linux in the memory and tell u-boot to jump to it. The latter is easy, setting the following kconfig options makes it automatically jump to the given address:
CONFIG_USE_BOOTCOMMAND=y
CONFIG_BOOTCOMMAND="bootm 0x51100000"
I cloned linux-next, wrote a simple device tree that has nodes for uart, cpus via PSCI and timer.
/ {
	...
	aliases {
		serial0 = &uart0;
	};

	chosen {
		stdout-path = "serial0:921600n8";
	};

	memory@40000000 {
		device_type = "memory";
		reg = <0x40000000 0x20000000>;
	};
	...
	cpus {
		#address-cells = <1>;
		#size-cells = <0>;

		cpu0: cpu@0 {
			device_type = "cpu";
			compatible = "arm,cortex-a55";
			reg = <0x0>;
			enable-method = "psci";
		};
		...
	};

	soc {
		...
		gic: interrupt-controller@c000000 {
			...

			ppi-partitions {
				...
			};
		};

		uart0: serial@11002000 {
			compatible = "mediatek,mt6797-uart",
				     "mediatek,mt6577-uart";
			...
		};
	};

	timer {
		compatible = "arm,armv8-timer";
		...
	};
Since the previous bootloader loads the ramdisk at 0x51100000, I made a FIT image containing the new kernel and dt. After packaging it all into a boot.img and flashing it with mtkclient, it ‘just works’.

Conclusion #
It took a few days of hopes and prayers to get a stable foundation for mainline development. Now that I have a solid boot chain, I can focus on hardware bringup rather than blindly trying to boot things.
I’ll be upstreaming my work in the following weeks/months.
Useful Links #
(Note: I am in no way responsible for any damage you do to your device by trying to replicate what I’ve done. If you want to experiment with flashing directly to your UFS, proceed at your own risk.)
- my linux-next fork for quintus: ivoszbg/linux-next
- mtkclient: bkerler/mtkclient
- support for quintus in uniLoader: ivoszbg/uniLoader